For those of you that do not know how to setup the custom PID for the rear differential coupling temperature you can follow the instructions below.
You will need an Android device to utilize the Torque Pro app. The Torque Pro app is $4.95 and can be downloaded from the Google Play store.
We had to purchase an Android tablet to be able to use the Torque Pro app, since it does not work for iPhones. Here is a link to the tablet we purchased: Samsung Tablet ($159, Best Buy)
You will also need a Bluetooth enabled OBDII device to connect to your vehicle. Here is a link to the device that we are using:
Bluetooth OBDII Reader ($22.99, Amazon)
After you have the Torque Pro app installed on your device, you will need to setup the profile for your vehicle and then follow these instructions to setup the custom PID required to read the rear differential coupling temperature sensor.
Step 1:
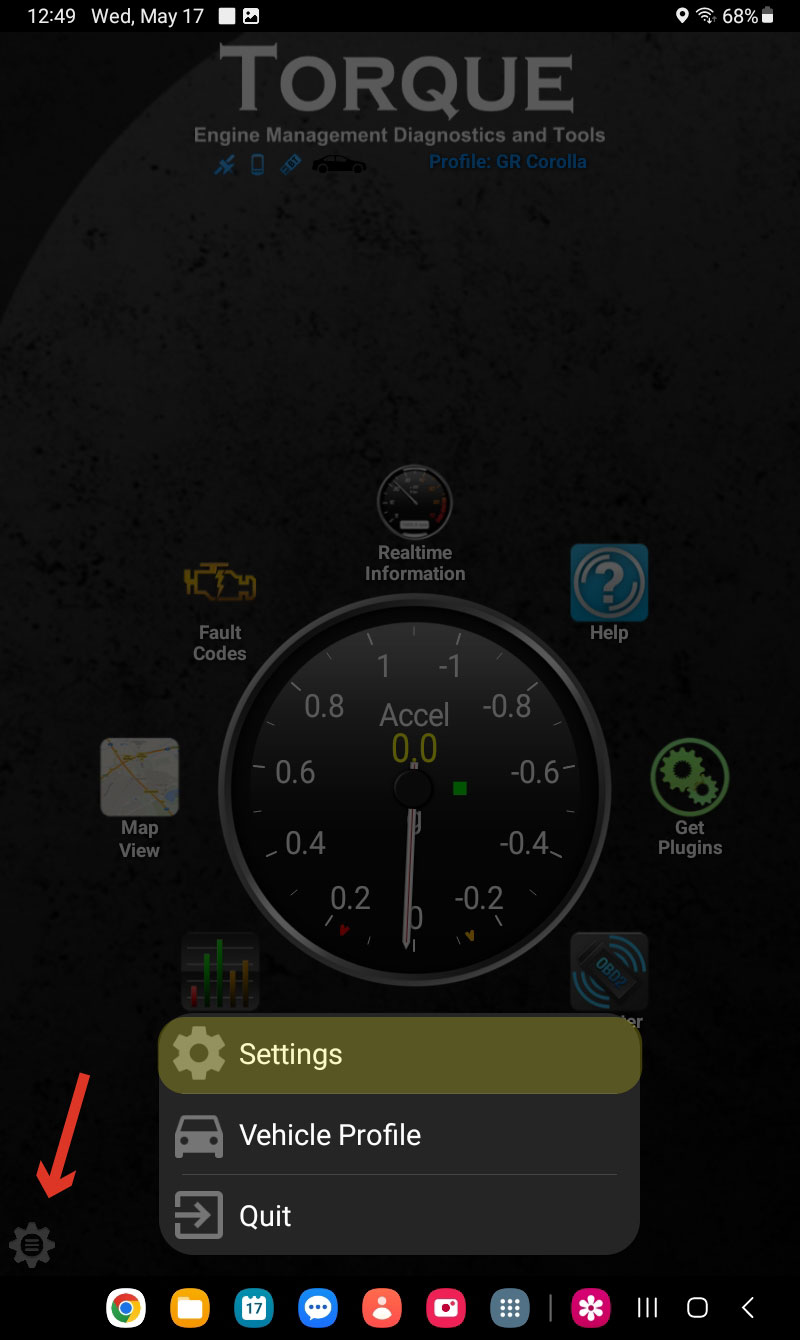
Tap the settings icon in the bottom left corner of the app, then select “Settings” from the pop-up menu.
Step 2:
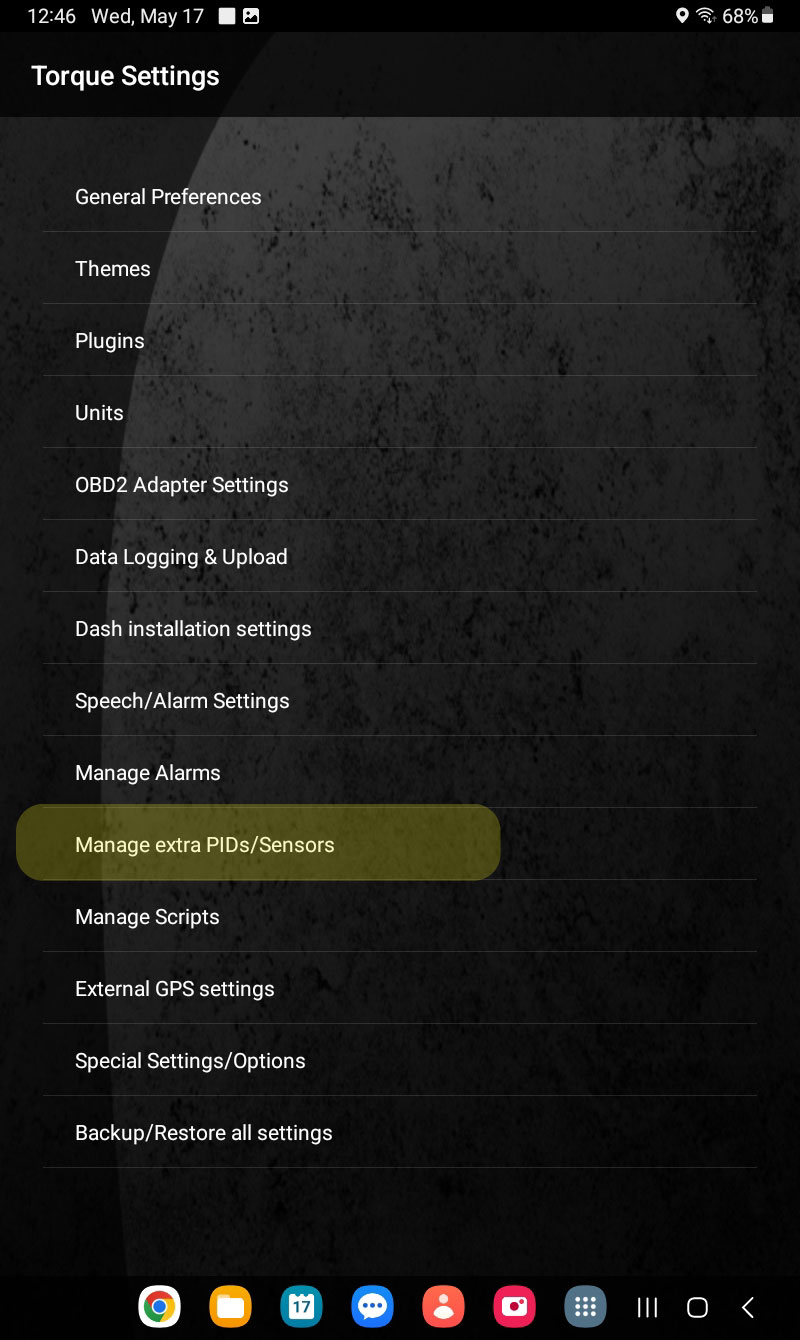
Select the “Manage extra PIDs/Sensors” option from the menu.
Step 3:
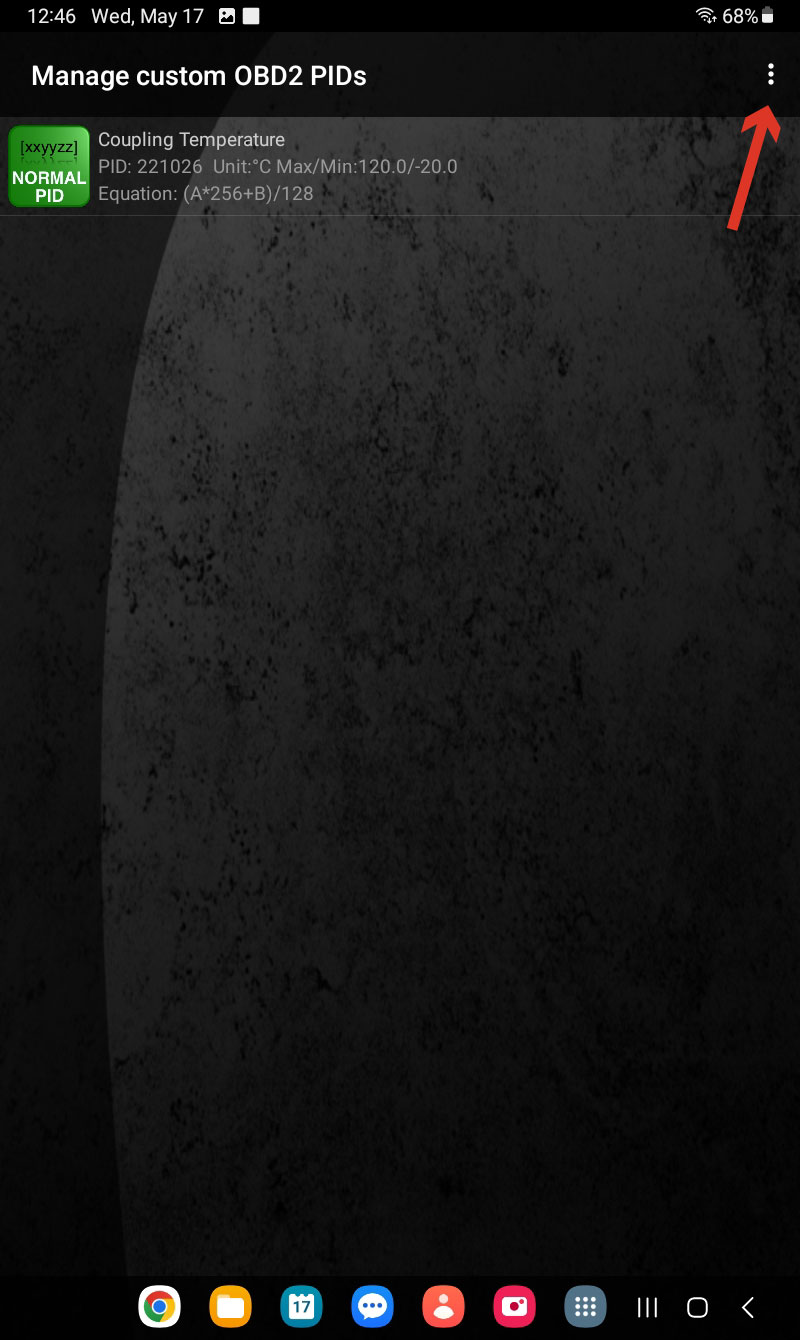
Tap the icon in the top right corner of your screen (three dots). Please note, this screen will be empty for you if you have not setup any custom PIDs. We already have ours setup here so it displays the active PID.
Step 4:
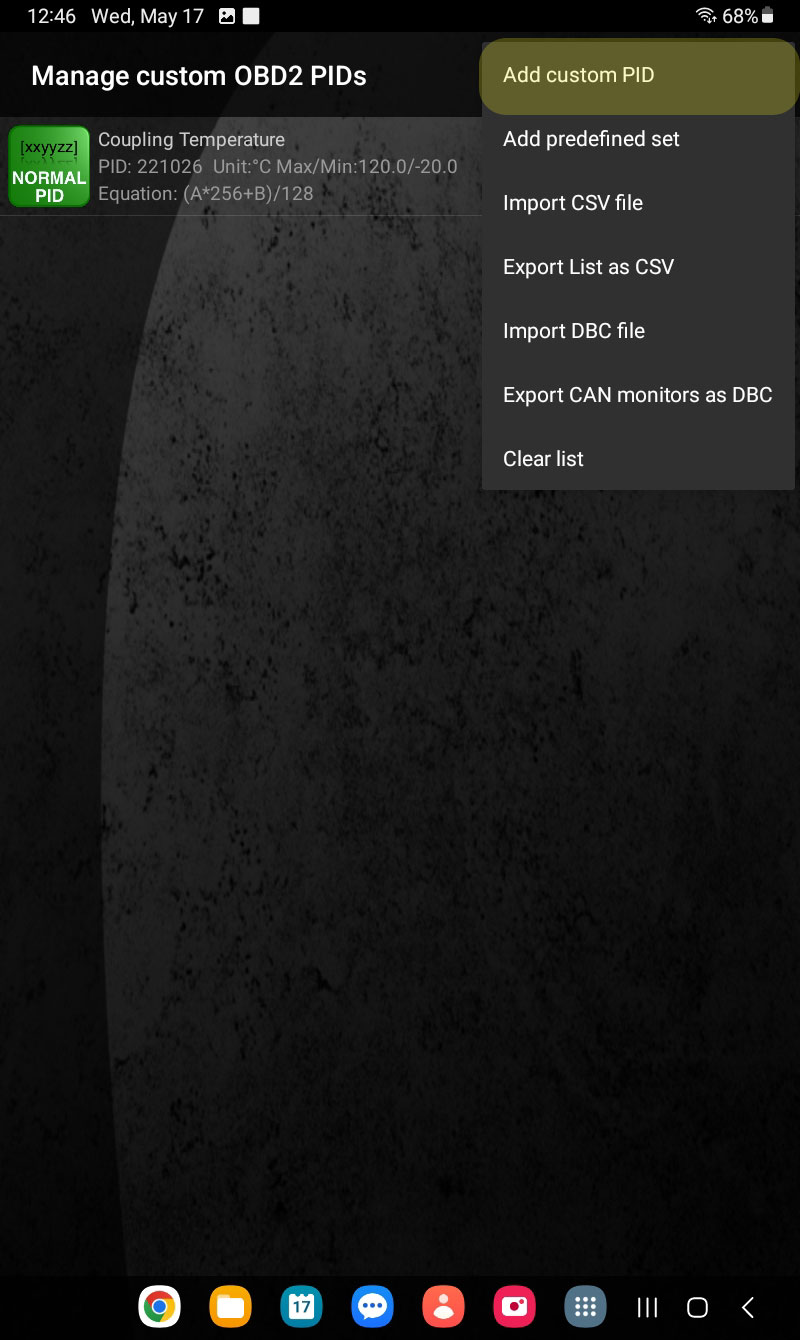
Select the “Add custom PID” option from the menu.
Step 5:
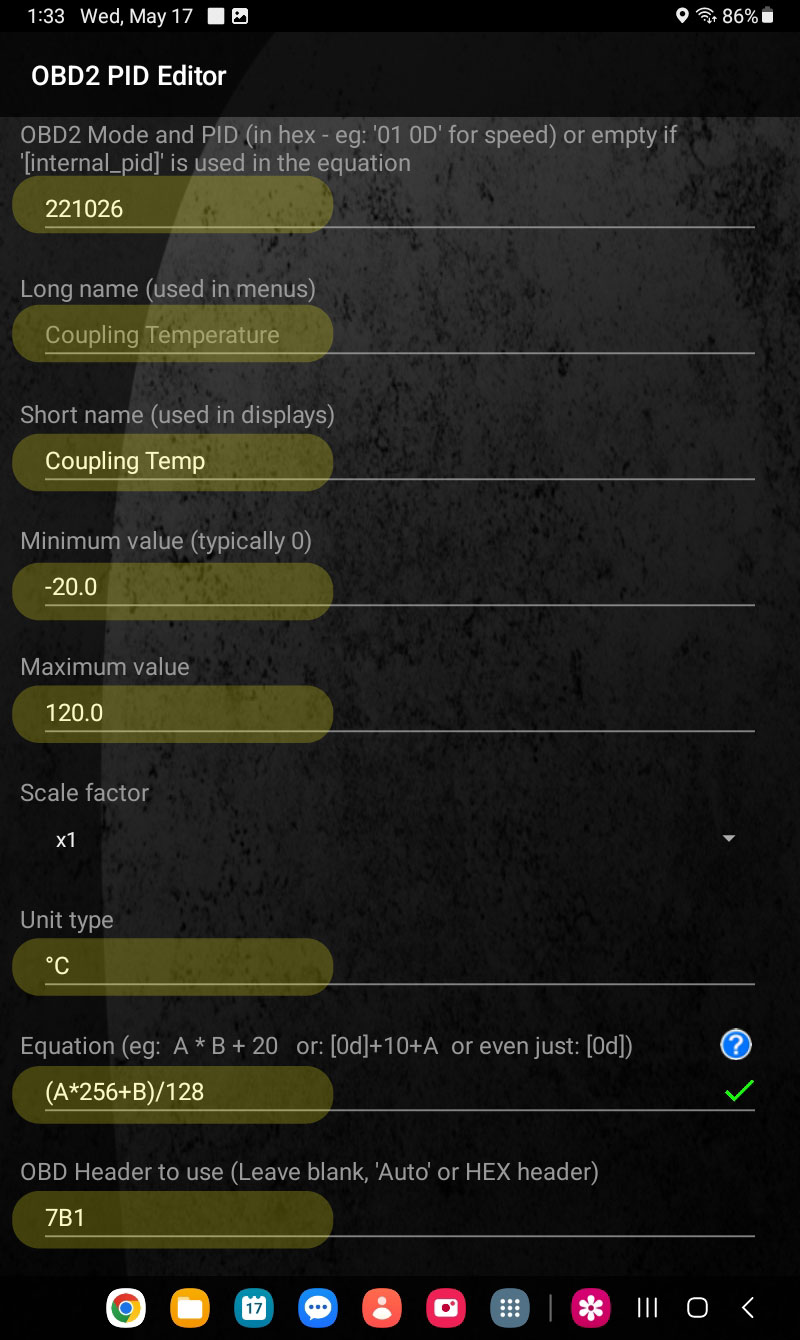
Copy the highlighted fields in the provided spaces exactly as they are shown.
Step 6:
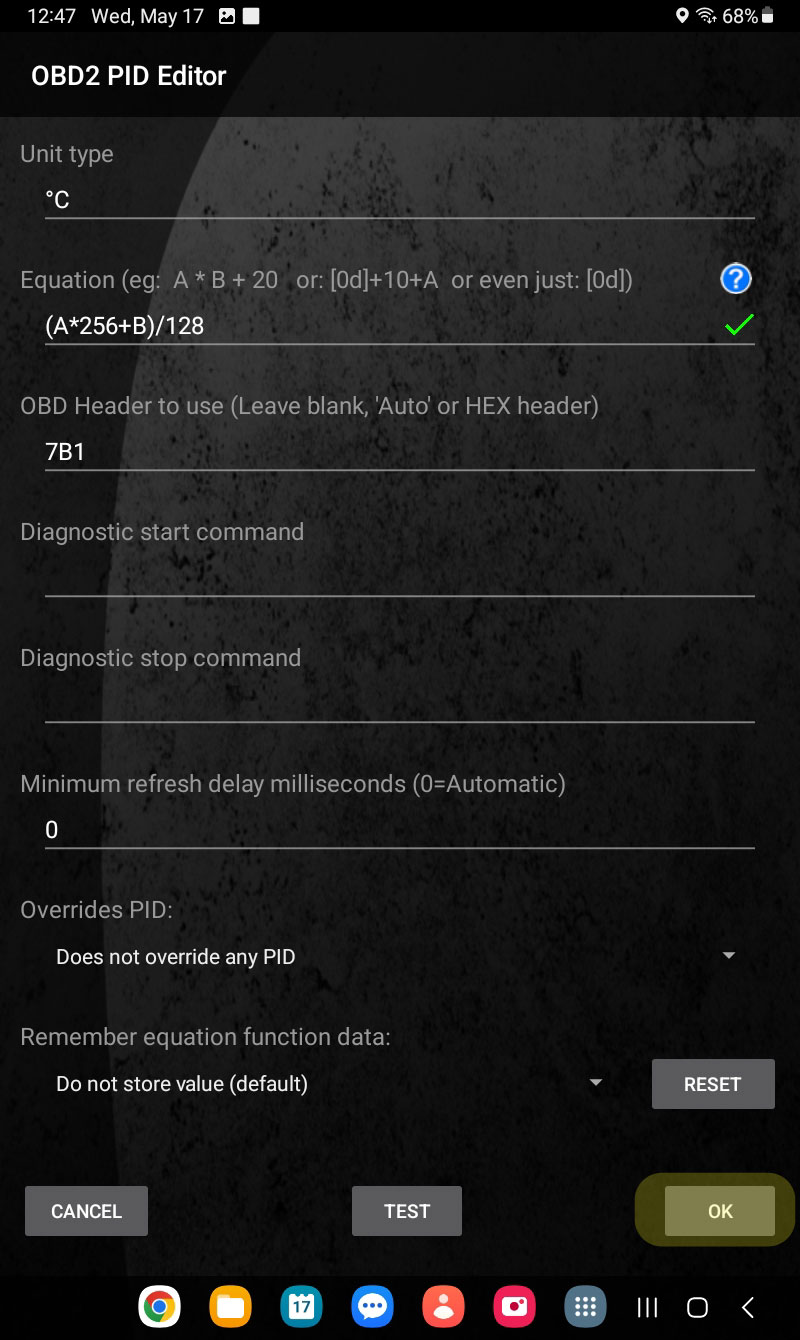
Tap “OK” to save your custom PID.
Step 6 continued:
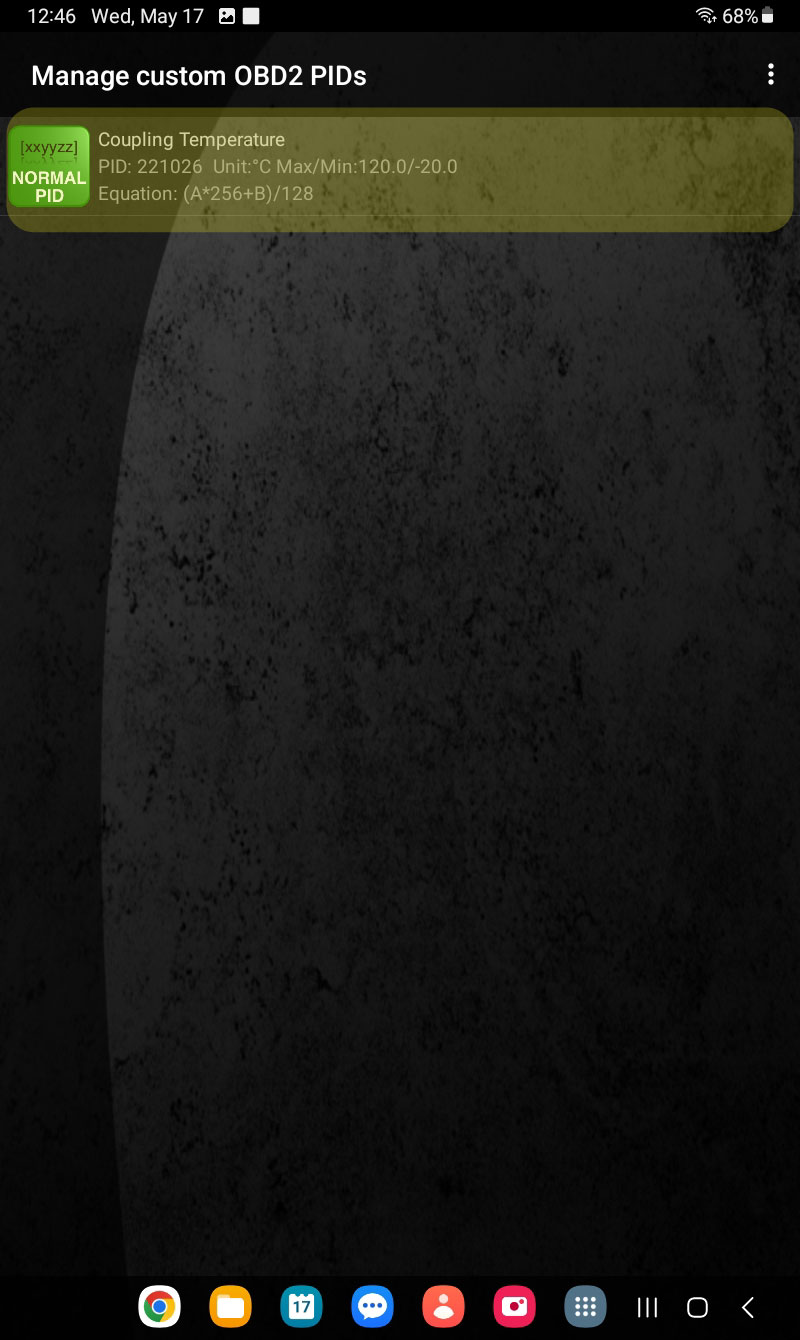
Your screen should now display your active custom PIDs.
Step 7:
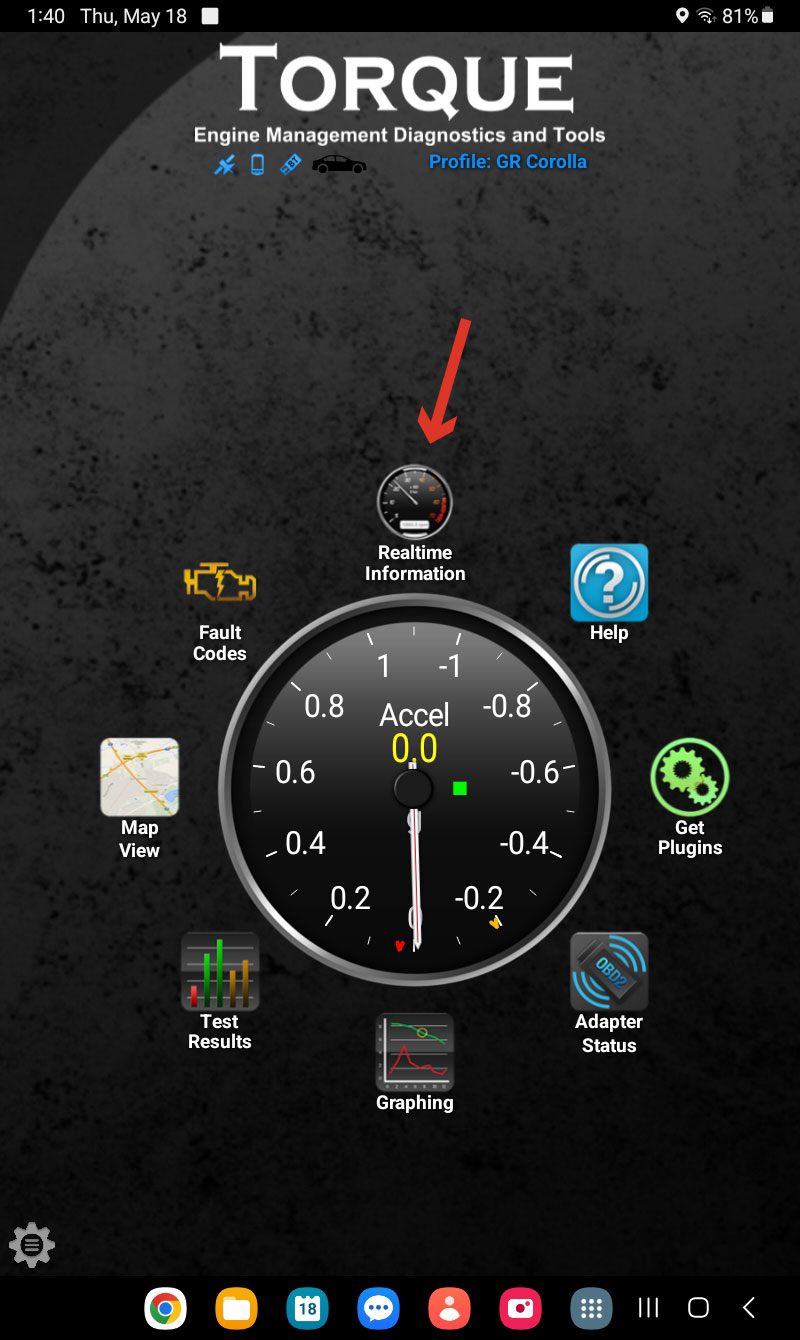
Return to the main menu of the app and select “Realtime Information”.
Step 8:
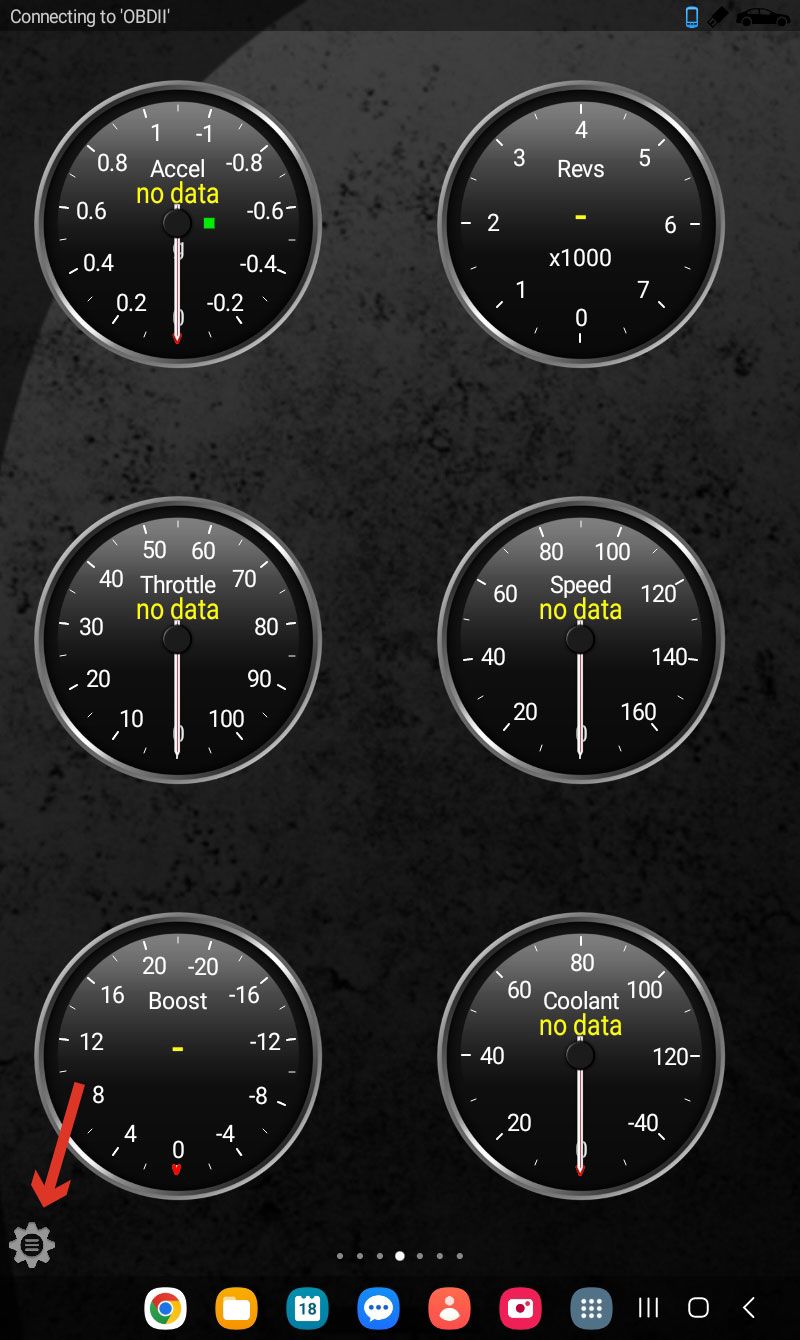
Tap the settings icon in the bottom left corner.
Step 9:
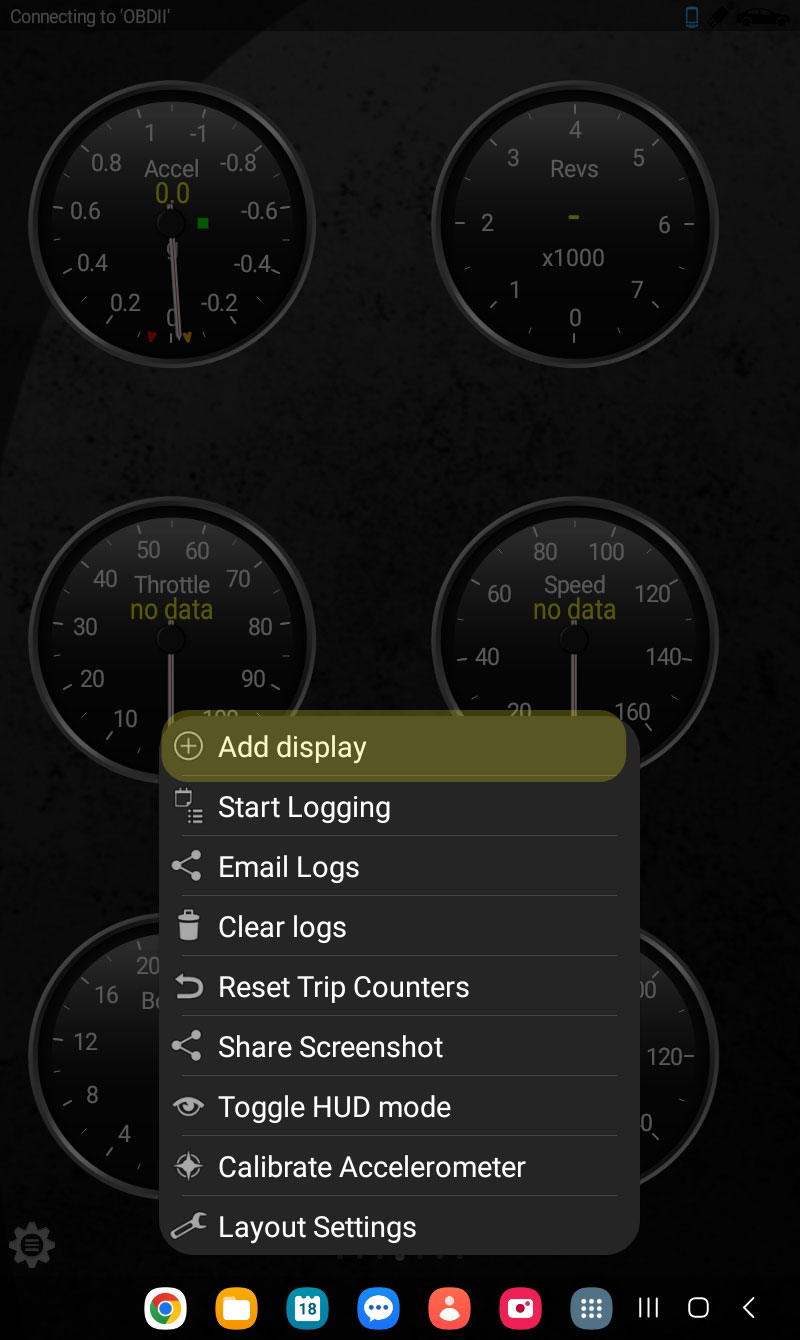
Select the “Add Display” option.
Step 10:
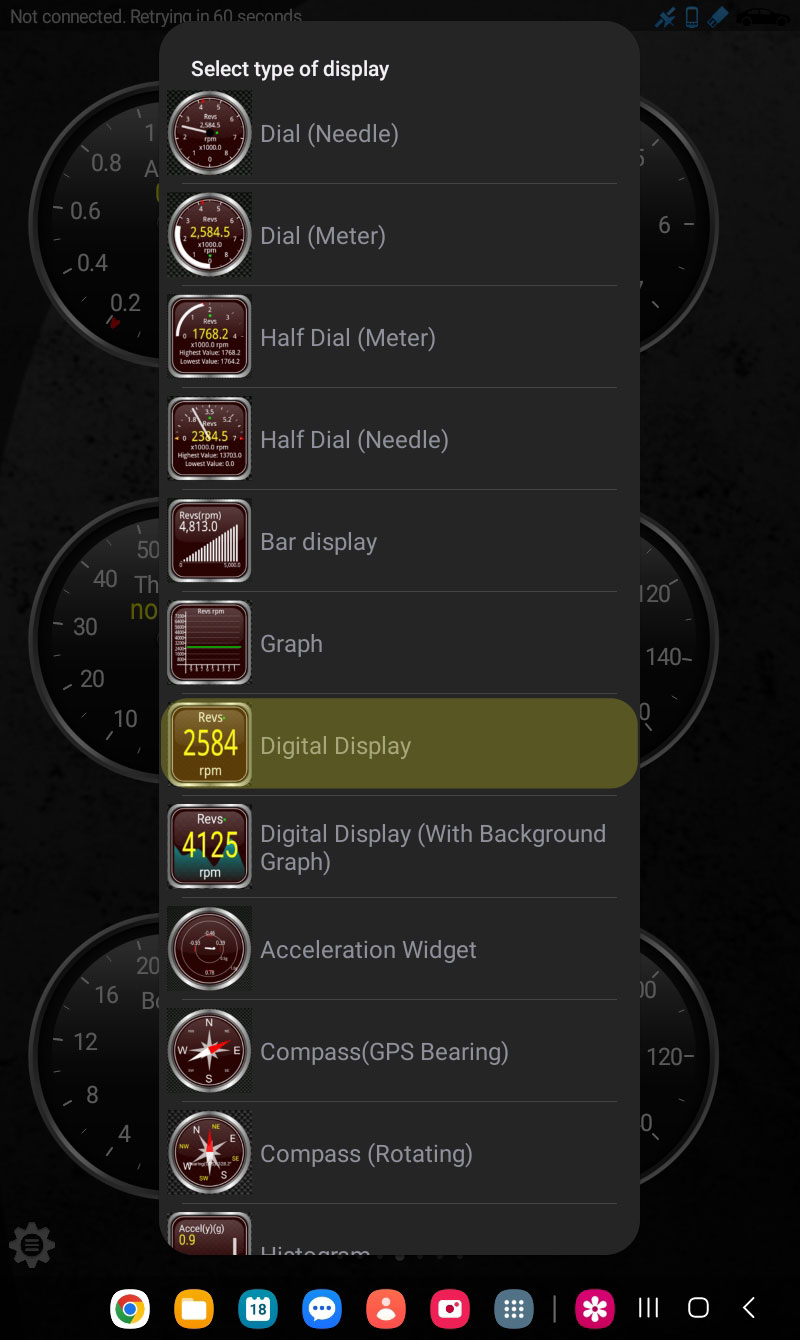
Select the type of display that you would like to use. This can be changed later. We chose the digital display option.
Step 11:

Select your custom PID from the list.
Step 12:
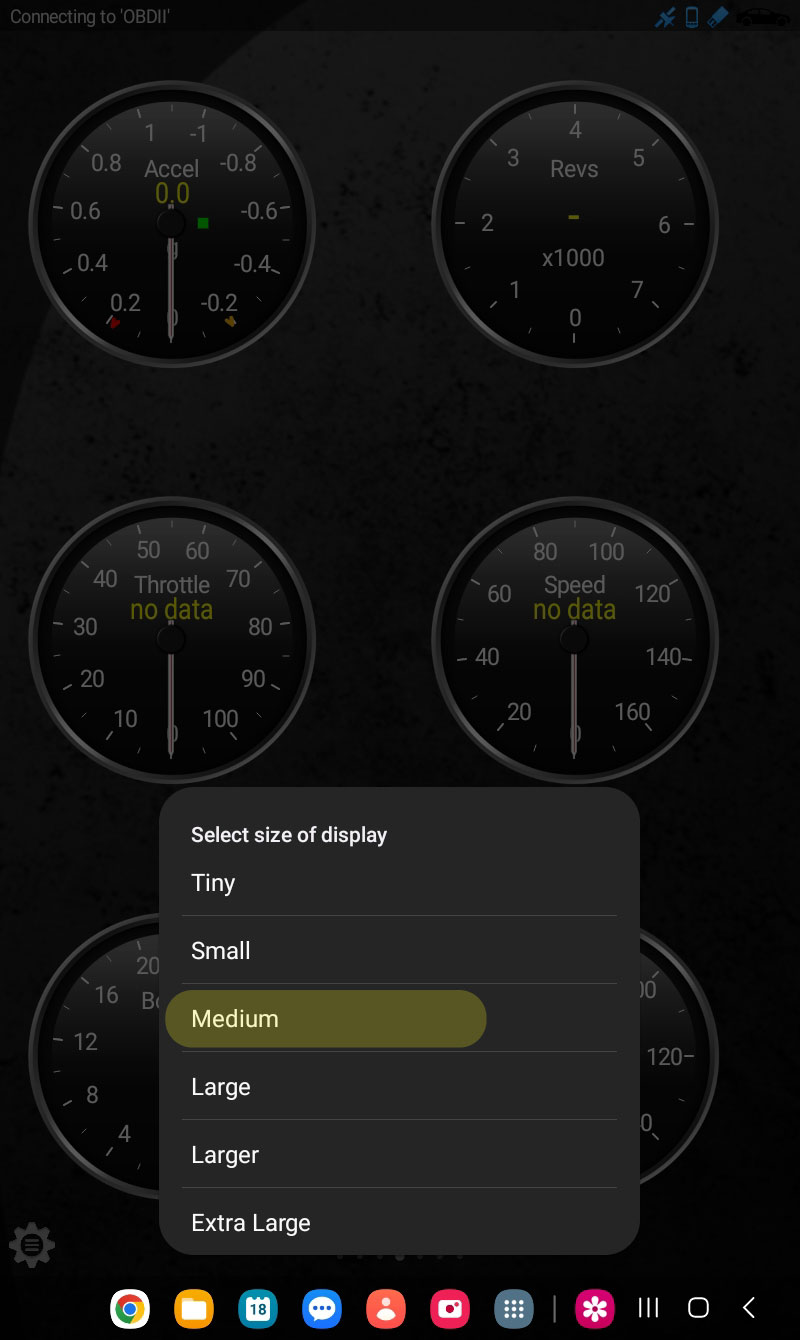
Select the desired display size. This can be changed later. The screenshot below shows the size and type of display that we use.
Step 13:

Now it’s time to set the app to log the data from the custom PID that we just set up. Go back to the main screen of the app and click the settings icon in the bottom left corner, then select the “Settings” option from the menu.
Step 14:
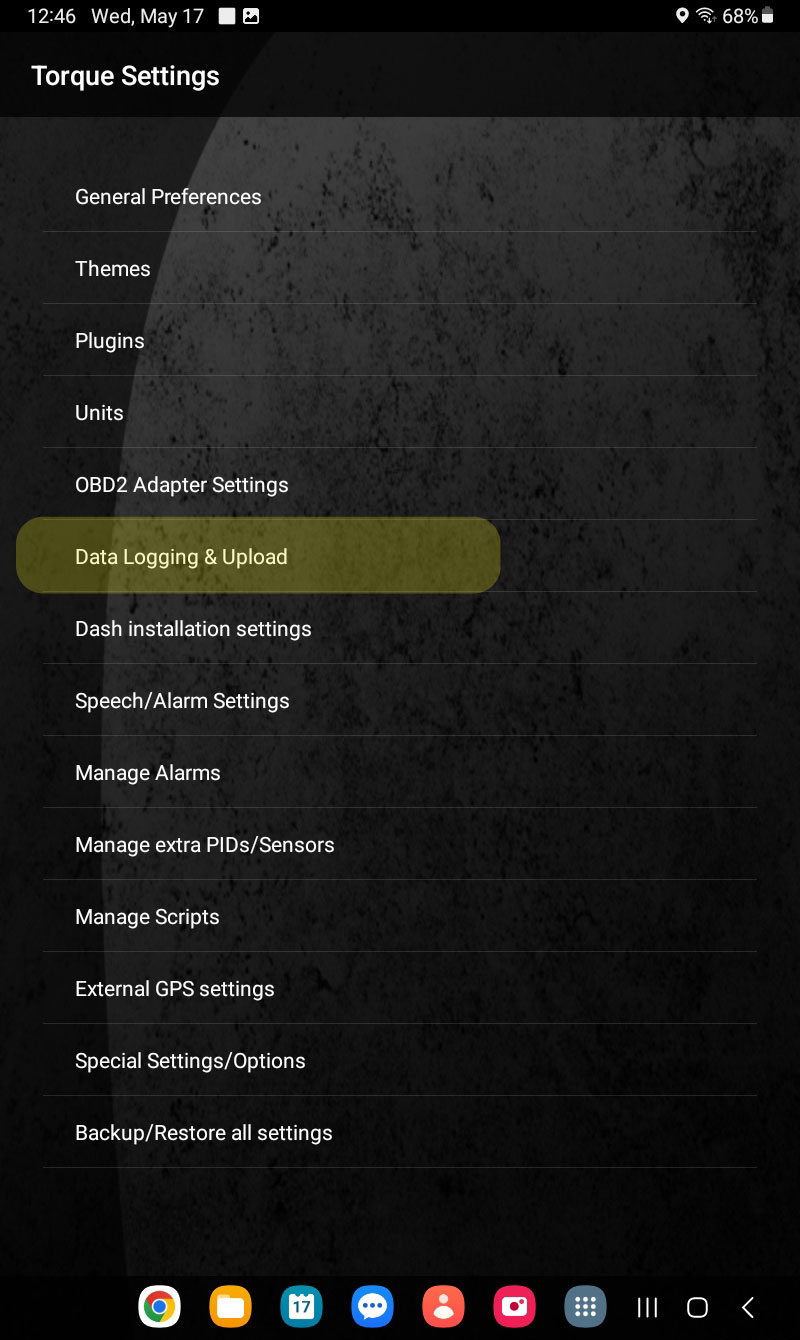
Select the “Data Logging & Upload” option from the menu.
Step 15:

Select the “Select what to log” option from the menu.
Step 16:
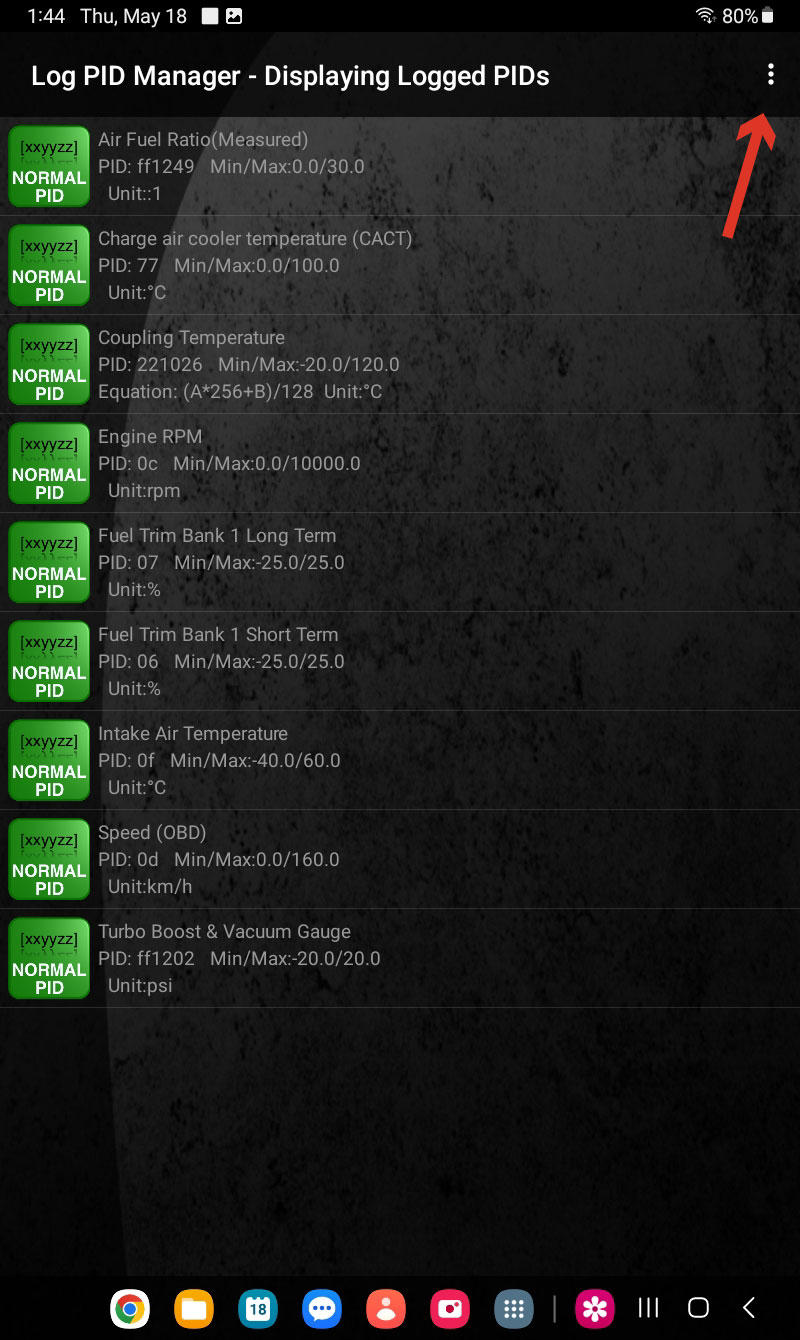
Tap the icon in the top right corner of your screen (three dots). Please note, this screen will be empty for you if you have not setup any PIDs for logging. We already have ours setup here so it displays the logged PIDs.
Step 17:
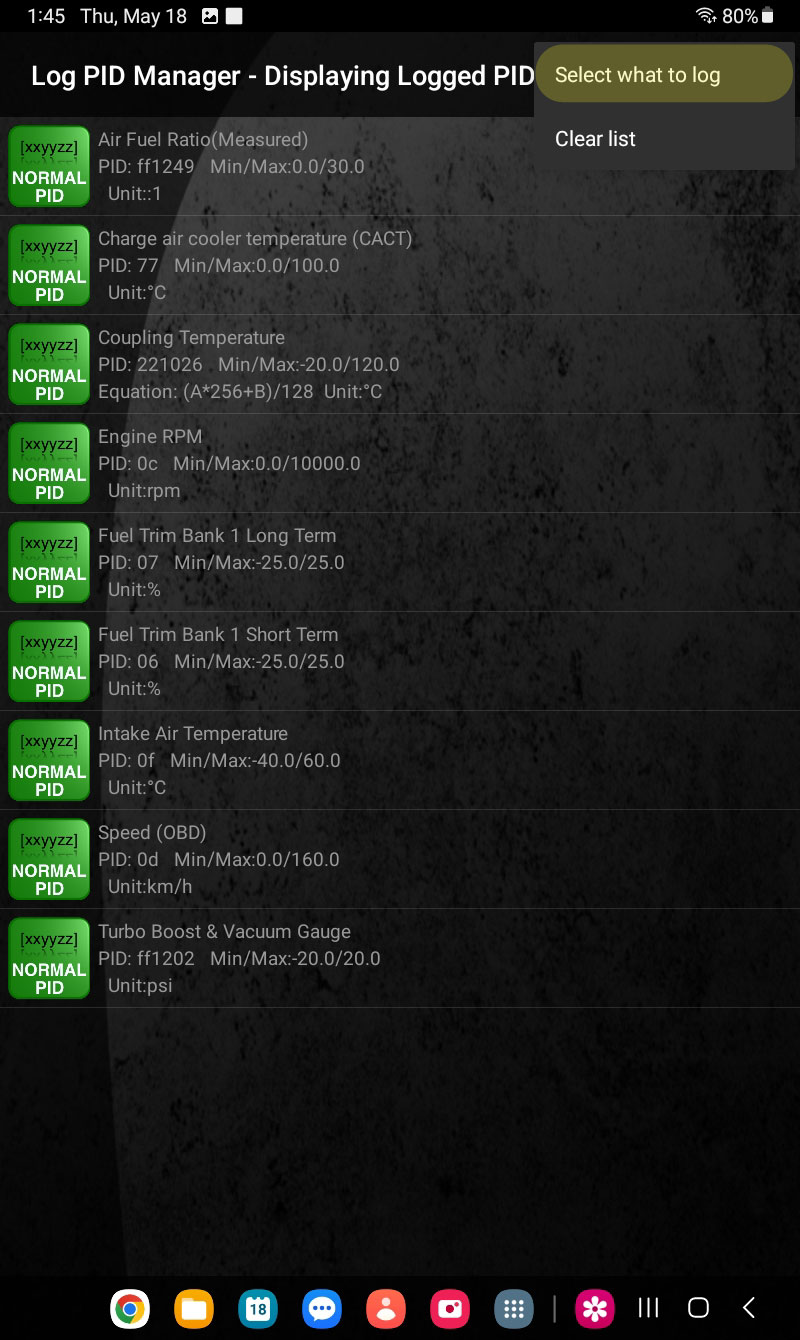
Select the “Select what to log” option from the menu.
Step 18:
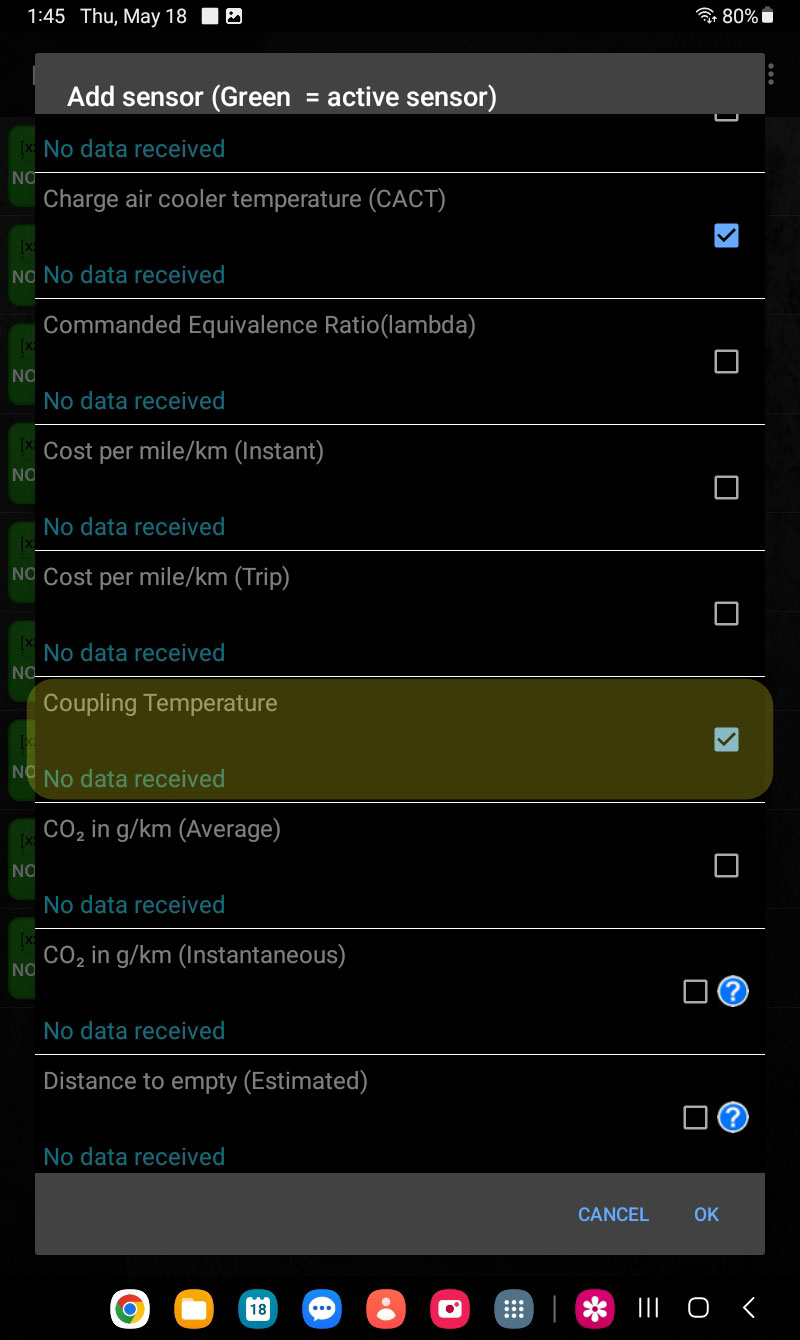
Select the sensors that you would like to add to your data log. Then tap “OK”. You should now see a list of the sensors you will be logging data for.
Step 18 continued:
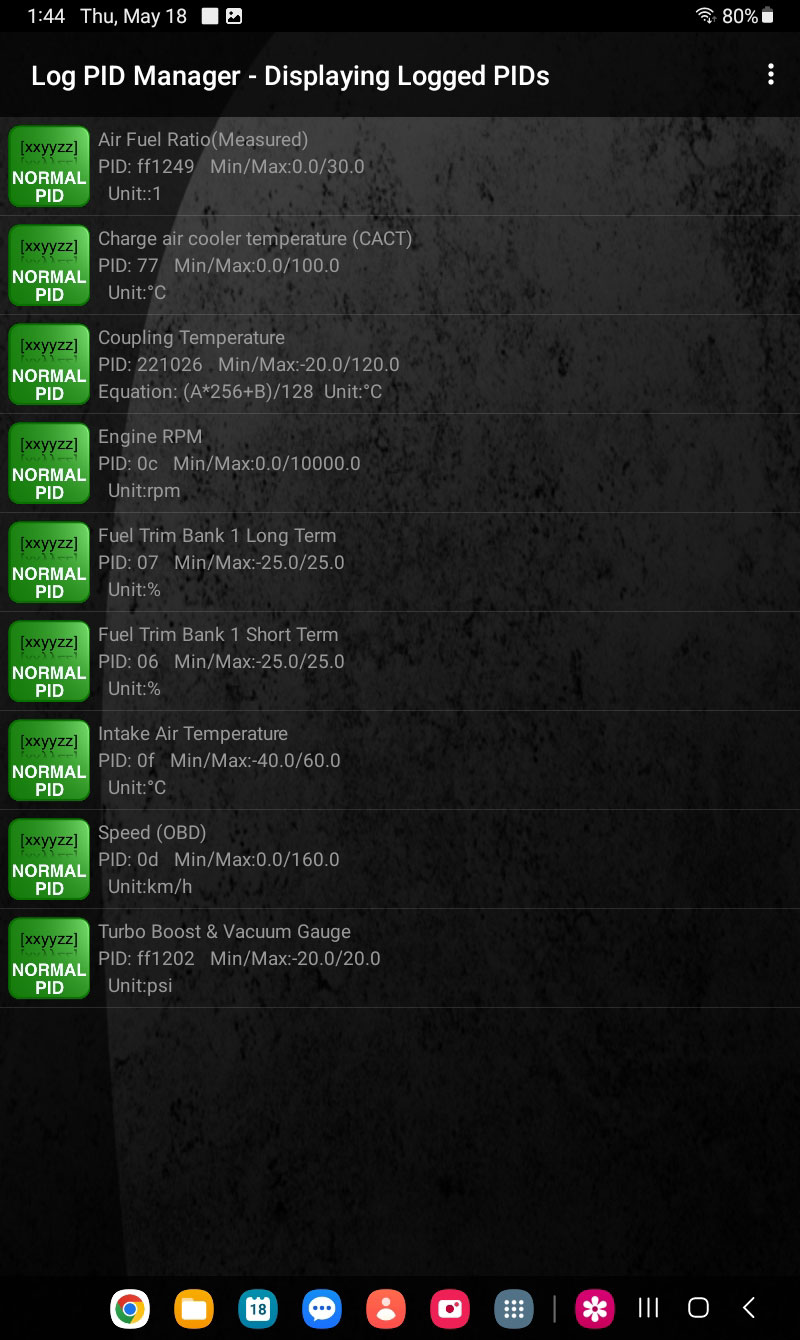
You should now see a list of the sensors you will be logging data for.
Step 19:
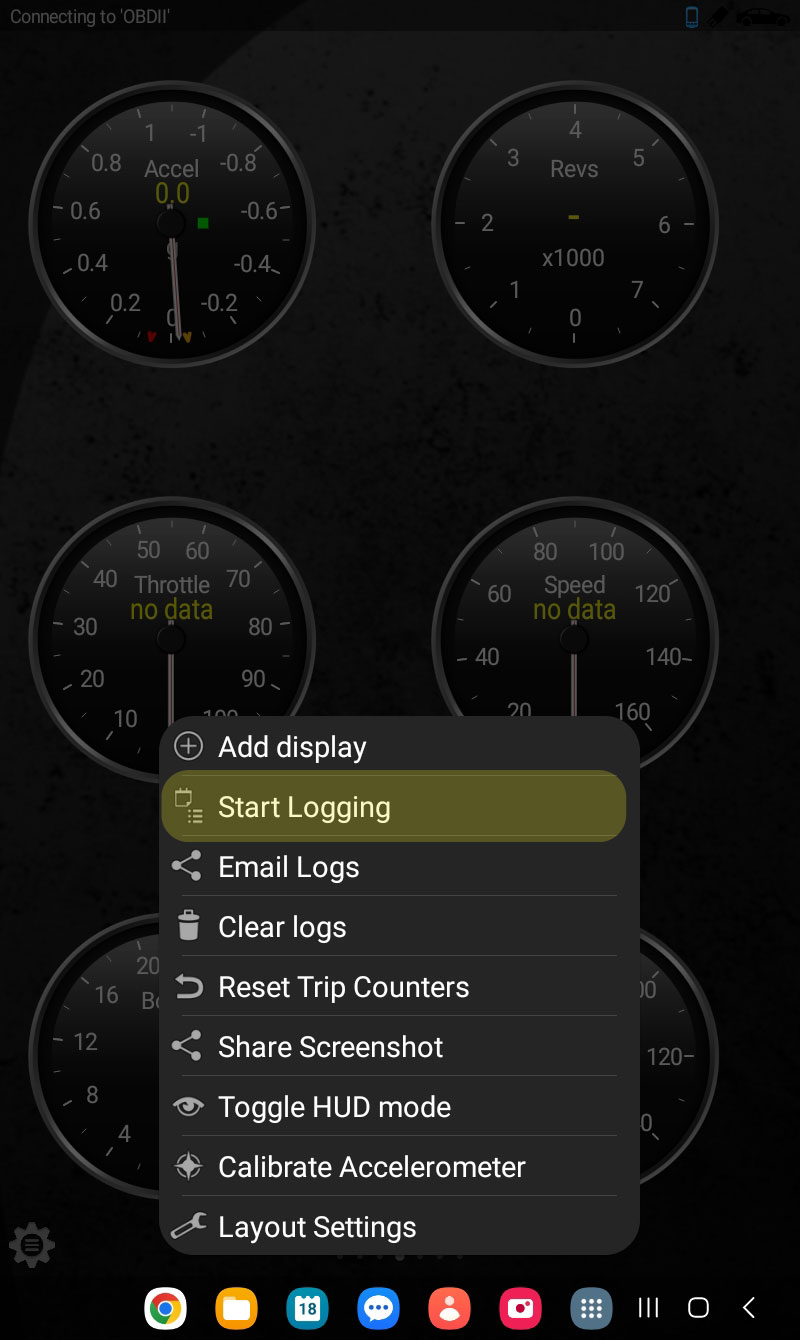
Now it is time to start logging your data! Go back to the “Realtime Information” screen and select the settings icon in the bottom left corner. Select the “Start logging” option from the menu. To stop logging, tap the settings icon again and select “Stop logging”.
Step 20:
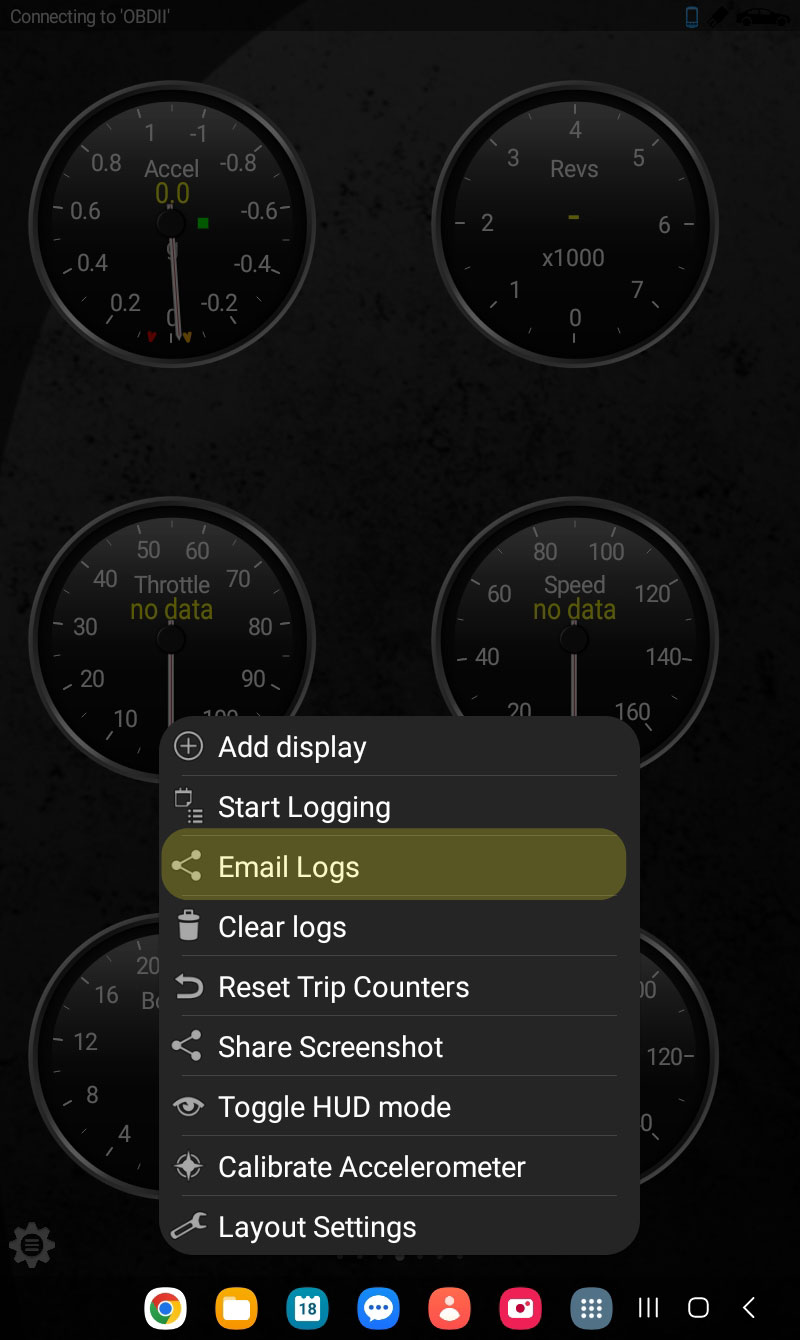
After you’ve logged your data, you will need to export in CSV format. From the same menu, select the “Email logs” option.
Step 21:
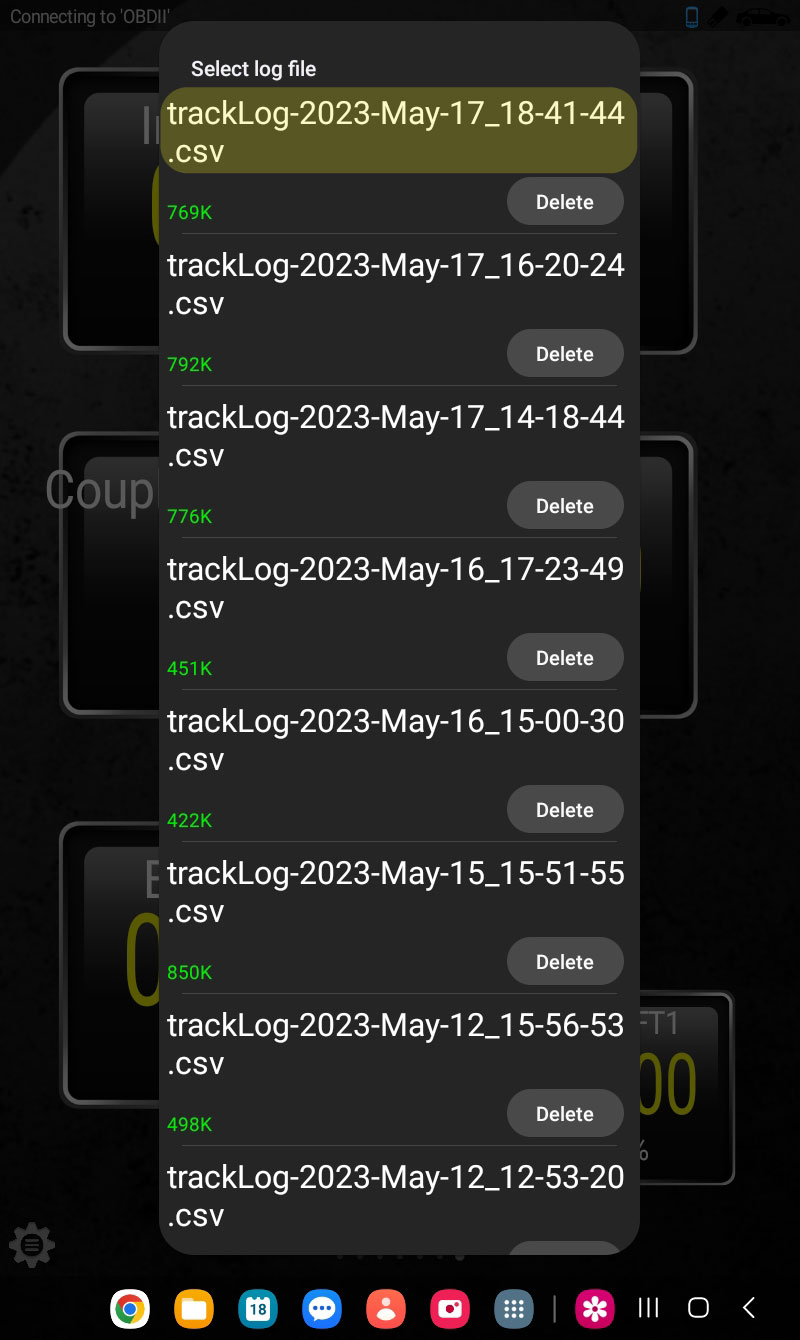
Select the log file you’d like to export.
Step 22:
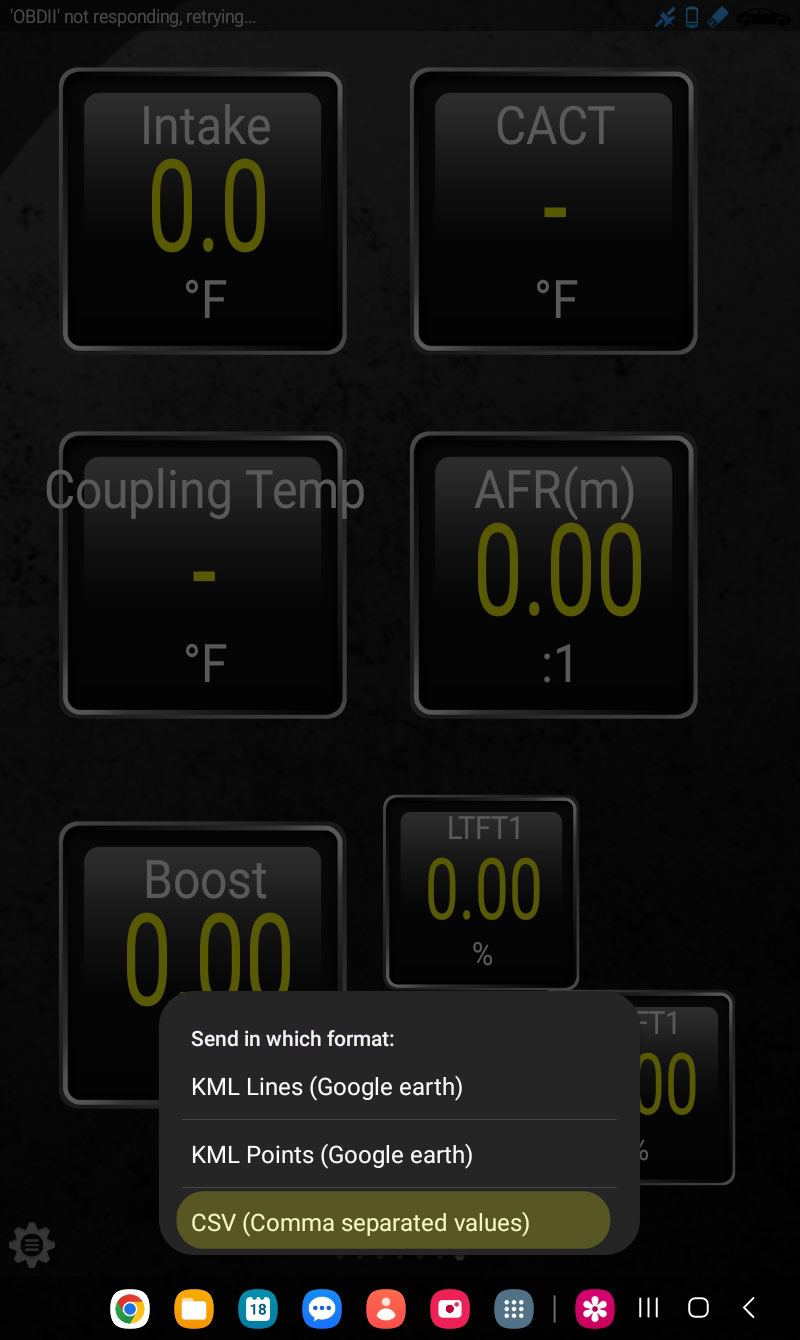
Select the CSV file format option.
Step 23:
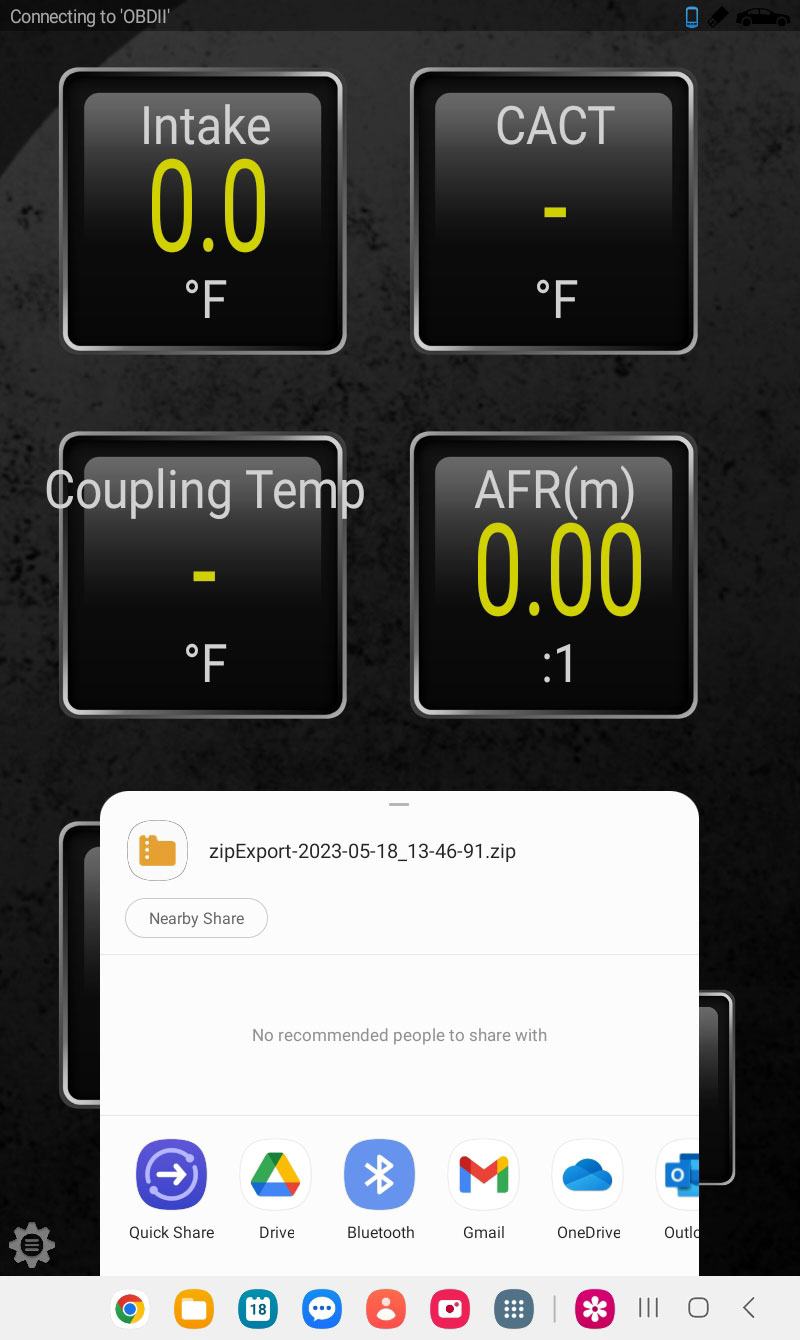
Select your method of sharing/export and you’re done!